Homemade Peanut Butter Cups Dark Chocolate
Highlighted under: Baked Bliss
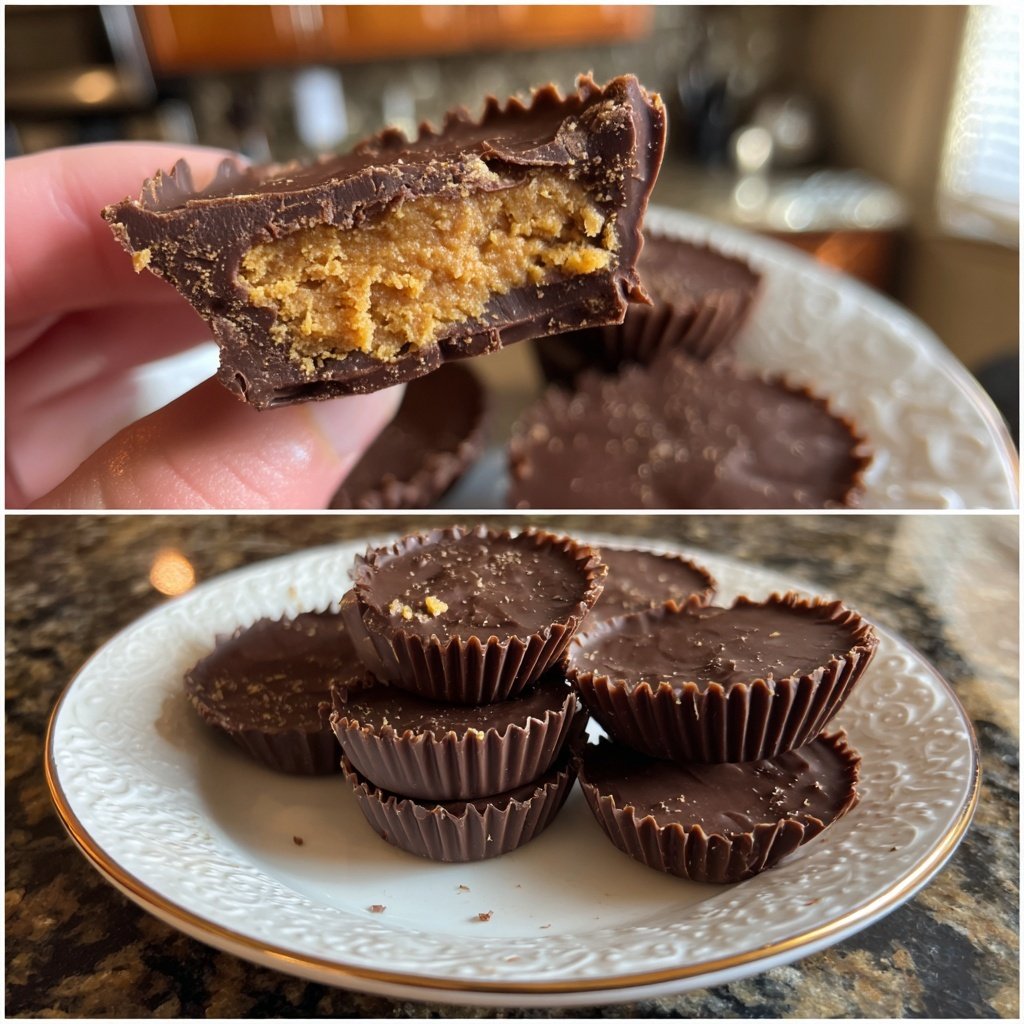
I absolutely love making my own peanut butter cups, especially when they are coated in rich dark chocolate. There’s something incredibly satisfying about creating a treat that rivals the store-bought version but is so much more flavorful and tailored to my taste. With just a handful of ingredients and a little time, I can whip up a batch of these indulgent delights that are perfect for sharing or savoring on my own. Trust me, once you taste these homemade versions, you'll never go back to the store again!
When I first made these homemade peanut butter cups, I was surprised at how simple and satisfying the process was. The blend of creamy peanut butter with a sprinkle of salt really enhances the flavor and creates a perfect contrast against the rich dark chocolate. I recommend using high-quality chocolate for that deep flavor that makes all the difference.
In experimenting with the balance between chocolate and peanut butter, I found that chilling the cups for a little while after assembling them makes them easier to handle and enhances their texture. It’s a small step that truly elevates the overall experience!
Why You'll Love This Recipe
- Rich chocolate flavor paired with creamy peanut butter
- Homemade and customizable to your chocolate preference
- Quick and easy to make with no fancy equipment needed
Perfecting the Peanut Butter Filling
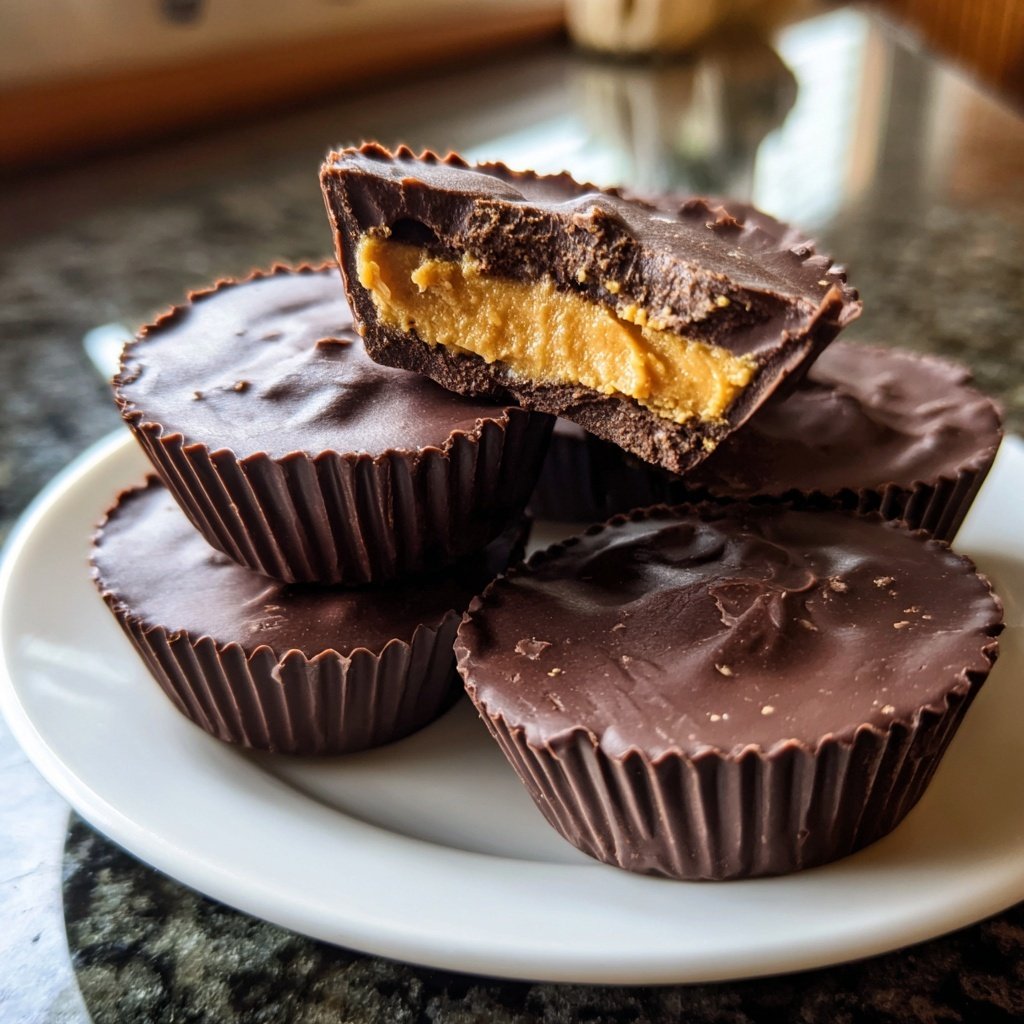
The peanut butter filling is the star of this recipe, creating a creamy and rich contrast to the dark chocolate coating. Using creamy peanut butter is essential for achieving that smooth consistency. If you prefer a bit of crunch, you can substitute half of the creamy peanut butter with crunchy peanut butter, which adds an interesting texture. Be sure not to skip the powdered sugar, as it sweetens and thickens the filling, giving it a delightful sweetness without making it overly sugary.
When preparing the filling, mix it well until completely homogeneous. A good tip is to use a rubber spatula to ensure you scrape down the sides of the bowl and incorporate all the ingredients thoroughly. The mixture should be thick yet pliable, allowing you to easily scoop it and spread it in the chocolate cups. If you notice your filling is too dry, a drizzle of honey or maple syrup can help to soften it without compromising the flavor.
Mastering the Chocolate Coating
Melting chocolate can be tricky, but using a microwave is an easy and efficient method. Make sure to use a microwave-safe bowl and heat the chocolate in 30-second intervals, stirring after each interval. This prevents overheating, which can lead to a grainy texture. If you prefer a glossy finish on your chocolate, adding coconut oil helps achieve that sleek appearance while also making the chocolate easier to work with during the coating process.
For those avoiding dairy, consider using dairy-free dark chocolate chips, which work just as well in this recipe. When melting, keep an eye on the chocolate, and pull it out as soon as it’s mostly melted—residual heat will continue to melt it without seizing. A well-melted chocolate should be smooth and slightly warm to the touch, making it easy to pour without clumping.
Storing Your Peanut Butter Cups
These homemade peanut butter cups can be stored in an airtight container at room temperature for up to a week, although they'll last longer in the fridge, where the chocolate will remain firm. If you're looking to preserve them for a longer time, you can freeze them. Arrange the cups on a baking sheet in a single layer and freeze until solid before transferring them to a freezer-safe container, where they can last for up to 3 months.
When you're ready to enjoy frozen cups, simply take them out and let them sit at room temperature for about 10 minutes. They’ll soften slightly while retaining a delightful chill. This method ensures your treats are always ready to impress, whether you want to enjoy them casually or serve at an event—just make sure you hide a few for yourself!
Ingredients
For the Peanut Butter Filling
- 1 cup creamy peanut butter
- 1/4 cup powdered sugar
- 1/4 teaspoon salt
For the Chocolate Coating
- 2 cups dark chocolate chips
- 1 tablespoon coconut oil (optional, for smoothness)
Instructions
Prepare the Peanut Butter Filling
In a mixing bowl, combine the peanut butter, powdered sugar, and salt. Stir until smooth and well combined.
Melt the Chocolate
In a microwave-safe bowl, melt the dark chocolate chips and coconut oil in 30-second intervals, stirring until smooth.
Assemble the Cups
Line a muffin tin with cupcake liners. Pour a small amount of melted chocolate into each liner, just enough to coat the bottom. Freeze for 10 minutes.
Add the Filling
Once set, add a spoonful of the peanut butter mixture on top of the chocolate. Use a spoon to spread it evenly across the base.
Top with Chocolate
Cover the peanut butter layer with more melted chocolate. Return to the freezer for another 15-20 minutes until solid.
Enjoy
Remove the cups from the muffin tin and peel off the liners. Your homemade peanut butter cups are ready to enjoy!
Pro Tips
- For an extra touch, sprinkle sea salt on top of the chocolate coating before freezing. This adds a delicious contrast to the sweetness of the cups.
Variations to Try
If you want to mix things up, consider adding a layer of crushed pretzels or sea salt on top of the peanut butter filling before sealing with chocolate. This adds a satisfying crunch and a savory element that balances the sweetness. Alternatively, you can infuse the peanut butter filling with flavors such as vanilla extract, cinnamon, or even a touch of espresso for a rich twist that elevates the classic taste.
For different dietary needs, you can use almond butter or sunflower seed butter in place of peanut butter. Both alternatives provide unique flavors; almond butter offers a mild nuttiness, while sunflower seed butter brings a slightly sweet, earthy note. Just be mindful of the consistency as these butters may have different moisture levels. Adjust sugar to taste before mixing.
Troubleshooting Common Issues
If you find that the chocolate is not coating properly or is clumping, chances are it was overheated. In this case, try adding a teaspoon of coconut oil to the melted chocolate and reheating it gently. Stir until the chocolate is smooth again. For a thicker chocolate coating, let the first layer set completely in the freezer before applying a second layer for an extra decadent treat.
Another common issue is the peanut butter filling spilling out when you bite into the cups. To prevent this, ensure the chocolate layer at the bottom is thick enough. Pour enough chocolate to create a solid base before freezing; a minimum of 1/4 inch thickness is ideal. Pay careful attention when spreading the filling too, ensuring it doesn’t overstay its boundaries.
Questions About Recipes
→ Can I use milk chocolate instead of dark chocolate?
Absolutely! You can use milk chocolate if you prefer a sweeter taste.
→ How long do these peanut butter cups last?
They can be stored in an airtight container in the fridge for about two weeks.
→ Can I use crunchy peanut butter?
Yes! Crunchy peanut butter adds a nice texture, so feel free to swap it in.
→ Can I freeze these peanut butter cups?
Yes, they freeze well! Just make sure to keep them in an airtight container.
Homemade Peanut Butter Cups Dark Chocolate
What You'll Need
For the Peanut Butter Filling
- 1 cup creamy peanut butter
- 1/4 cup powdered sugar
- 1/4 teaspoon salt
For the Chocolate Coating
- 2 cups dark chocolate chips
- 1 tablespoon coconut oil (optional, for smoothness)
How-To Steps
In a mixing bowl, combine the peanut butter, powdered sugar, and salt. Stir until smooth and well combined.
In a microwave-safe bowl, melt the dark chocolate chips and coconut oil in 30-second intervals, stirring until smooth.
Line a muffin tin with cupcake liners. Pour a small amount of melted chocolate into each liner, just enough to coat the bottom. Freeze for 10 minutes.
Once set, add a spoonful of the peanut butter mixture on top of the chocolate. Use a spoon to spread it evenly across the base.
Cover the peanut butter layer with more melted chocolate. Return to the freezer for another 15-20 minutes until solid.
Remove the cups from the muffin tin and peel off the liners. Your homemade peanut butter cups are ready to enjoy!
Extra Tips
- For an extra touch, sprinkle sea salt on top of the chocolate coating before freezing. This adds a delicious contrast to the sweetness of the cups.
Nutritional Breakdown (Per Serving)
- Calories: 380 kcal
- Total Fat: 26g
- Saturated Fat: 15g
- Cholesterol: 195mg
- Sodium: 85mg
- Total Carbohydrates: 32g
- Dietary Fiber: 3g
- Sugars: 24g
- Protein: 6g