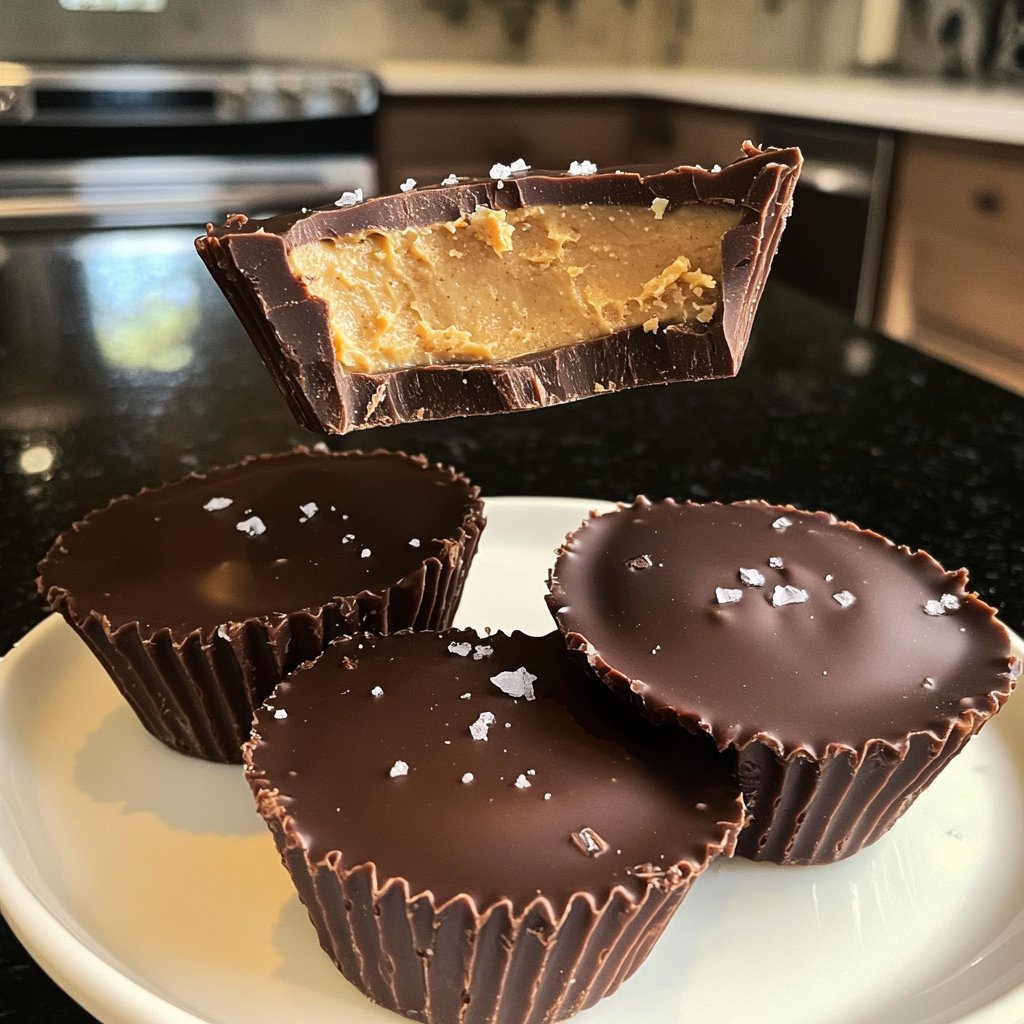
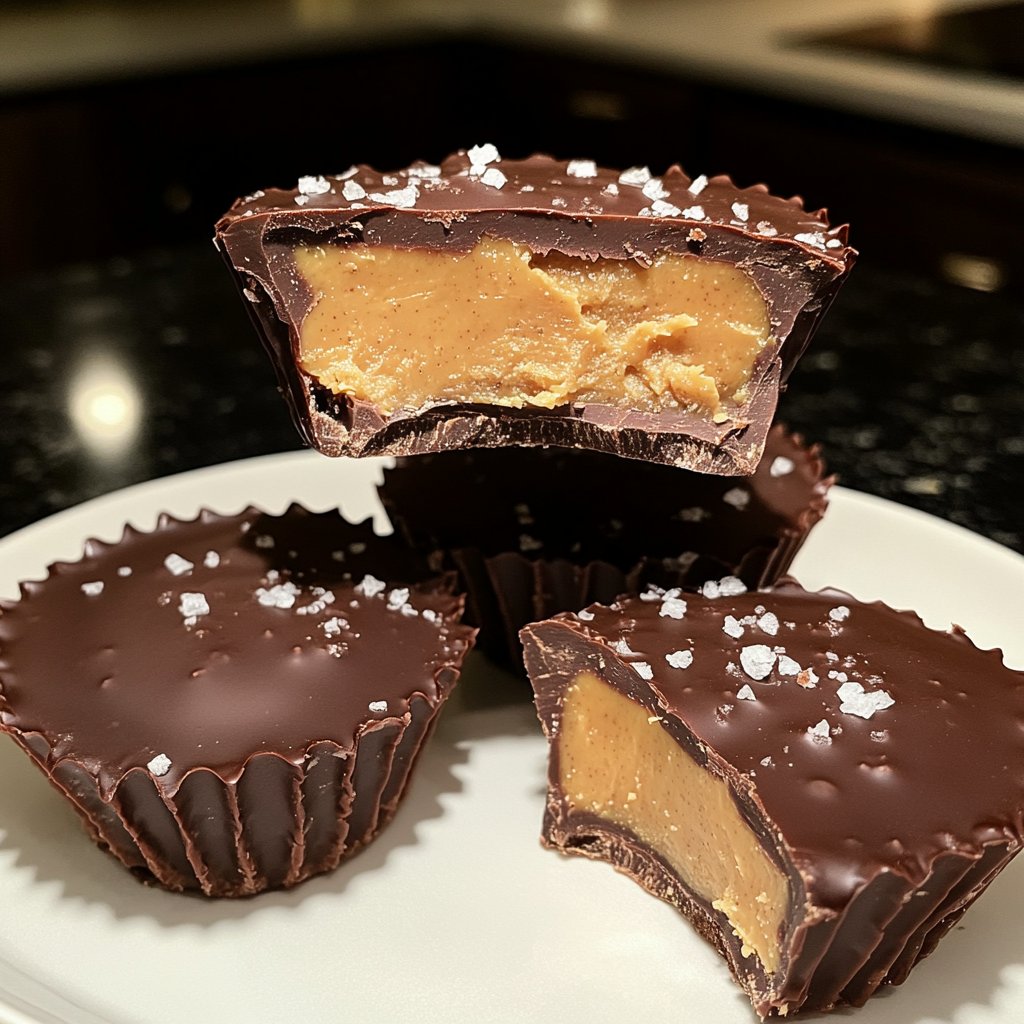
Homemade Peanut Butter Cups with Sea Salt
Highlighted under: Baked Bliss
Growing up, I always adored those store-bought peanut butter cups, but nothing compares to the satisfaction of making my own at home. I've perfected this recipe to create a delicious balance of creamy peanut butter and rich chocolate, enhanced with a sprinkle of sea salt that elevates the flavor. It takes only a handful of ingredients and a bit of patience, but the end result is not just a treat; it's an experience that I love to share with friends and family during gatherings or as an indulgent snack.
Making peanut butter cups from scratch was an endeavor I finally took on after years of craving that perfect blend of chocolate and peanut butter. I experimented with various types of chocolate and ratios to find what truly hits the spot. Using good quality chocolate makes all the difference, as it melts beautifully and brings a luxurious taste that complements the creamy filling.
One key tip I learned is to ensure your chocolate is tempered properly so it sets with a nice shine and crispness. The addition of sea salt is a game changer—it brings out the nutty flavor of the peanut butter and adds a delightful contrast to the sweetness.
Why You Will Love This Recipe
- Irresistible combination of creamy peanut butter and rich chocolate
- Simple ingredients you probably have on hand
- Perfect balance of sweet and salty flavors
Perfecting the Chocolate Layer
When melting chocolate for the base, use a microwave-safe bowl and employ short bursts of heat—30 seconds at a time—with stirring in between. This prevents the chocolate from seizing and ensures a smooth, glossy finish. If you notice your chocolate has become lumpy or thick, try adding a teaspoon of coconut oil to help loosen it up. The ideal consistency is one that flows easily but still holds its shape when poured into the muffin cups.
Using semi-sweet chocolate chips is crucial for achieving the right balance of sweetness in these peanut butter cups. If you've run out, you can substitute with dark chocolate or milk chocolate, but be aware this will shift the overall flavor profile. Aim for high-quality chocolate with a cocoa content of around 60-70% for the best results, which will give you a rich and indulgent taste.
Creating the Peanut Butter Filling
The peanut butter filling is where you can really customize this recipe to your liking. Choosing creamy peanut butter is recommended as it blends seamlessly into a smooth filling. If you're looking for a healthier option, consider using a natural peanut butter that contains only peanuts and salt—just note that this may alter the texture slightly since natural peanut butter tends to be runnier. Adding powdered sugar not only sweetens but also helps stabilize the filling, maintaining its shape when the cups are chilled.
To enhance the flavor of your filling, experiment with additional ingredients like a pinch of cinnamon or a swish of maple syrup for a hint of warmth and depth. Just be cautious with the amount, as too much liquid can alter the consistency. Aim for a filling that is thick yet spreadable to ensure it holds up well in the chocolate cups.
Final Touches and Storage Tips
A light sprinkle of sea salt on top of the finished cups elevates the flavor dramatically, creating a delightful contrast between the sweet chocolate and the creamy peanut butter. After you’ve chilled the cups until their set, consider drizzling some additional melted chocolate on top for an even more decadent look—this also helps tie the flavors together beautifully. Use a fork or a piping bag to achieve a decorative drizzle, adding both a visual appeal and a tasty layer to your treat.
These peanut butter cups can be stored in an airtight container in the refrigerator for up to two weeks. For longer storage, freeze them individually on a baking sheet, then transfer to a zip-top bag. They can be enjoyed frozen for a cool treat, or simply thawed for a softer texture. When making these for a gathering, consider doubling the recipe; they’re bound to go quickly!
Ingredients
Gather these simple ingredients before you start:
For the Cups
- 1 cup semi-sweet chocolate chips
- 1 cup creamy peanut butter
- 1/4 cup powdered sugar
- 1/2 teaspoon vanilla extract
- 1/4 teaspoon sea salt
For Topping
- 1/4 cup semi-sweet chocolate chips (for drizzling)
- Extra sea salt for sprinkling
Make sure to have everything measured out before you begin, as it makes the process smoother.
Instructions
Follow these easy steps to make your homemade peanut butter cups:
Prepare the Chocolate Base
Melt the 1 cup of semi-sweet chocolate chips in a microwave-safe bowl in 30-second increments, stirring between each, until smooth.
Mold the Base
Spoon a little melted chocolate into the bottom of each cup in a mini muffin pan, spreading it to cover the base. Chill in the refrigerator for about 10 minutes to set.
Make the Filling
Mix the peanut butter, powdered sugar, vanilla extract, and 1/4 teaspoon sea salt in a bowl until smooth and well combined.
Add the Filling
Remove the chocolate-covered cups from the fridge and spoon the peanut butter mixture on top of the chocolate base, filling each cup about 3/4 full.
Top with Chocolate
Pour the remaining melted chocolate over the peanut butter filling until each cup is full. Tap the pan gently to remove air bubbles. Sprinkle a little extra sea salt on top.
Chill and Serve
Chill the cups in the refrigerator for at least 30 minutes until fully set. Once firm, remove the cups from the mold and enjoy!
Keep any leftovers in an airtight container in the fridge.
Pro Tips
- For a twist, consider using dark chocolate or adding a hint of cinnamon to the peanut butter filling.
Serving Suggestions
These homemade peanut butter cups are not just a great snack but can also be served at gatherings or parties. Cut them into quarters for bite-sized treats that guests can easily enjoy. Pair them with a cold glass of milk or a cup of coffee, which balances the sweetness and enhances the creamy peanut butter flavor. You could also arrange them on a decorative platter along with fresh fruit, which provides a refreshing contrast.
For a fun twist, consider creating a themed dessert bar. Set out toppings like crushed graham crackers, shredded coconut, or even mini marshmallows, allowing guests to customize their peanut butter cups. This interactive element can make dessert highly enjoyable and memorable.
Variations to Try
If you want to switch things up, try adding a layer of caramel or using crunchy peanut butter instead of creamy for added texture. You could also incorporate other kinds of nut butters, like almond or cashew, to give a unique spin to each cup. For a seasonal touch, consider mixing in a hint of peppermint extract around the holidays for a festive flavor.
For a more decadent treat, you can top the chocolate with crushed nuts or even sea salt caramel drizzle right before serving. These variations not only enhance the visual appeal but also provide new flavor layers, making each bite a delightful surprise.
Questions About Recipes
→ Can I use natural peanut butter?
Yes, natural peanut butter can be used, but it may cause the filling to be a bit runnier, so adjust the powdered sugar as needed.
→ How long do these cups last?
They can be stored in the fridge for up to two weeks, but they are best enjoyed within a few days for optimal freshness.
→ Can I freeze them?
Absolutely! These peanut butter cups freeze well. Just wrap them individually and store in an airtight container for up to three months.
→ What can I substitute for chocolate chips?
You can use melting chocolate or chopped chocolate bars. Just be sure to temper it correctly.
Homemade Peanut Butter Cups with Sea Salt
What You'll Need
For the Cups
- 1 cup semi-sweet chocolate chips
- 1 cup creamy peanut butter
- 1/4 cup powdered sugar
- 1/2 teaspoon vanilla extract
- 1/4 teaspoon sea salt
For Topping
- 1/4 cup semi-sweet chocolate chips (for drizzling)
- Extra sea salt for sprinkling
How-To Steps
Melt the 1 cup of semi-sweet chocolate chips in a microwave-safe bowl in 30-second increments, stirring between each, until smooth.
Spoon a little melted chocolate into the bottom of each cup in a mini muffin pan, spreading it to cover the base. Chill in the refrigerator for about 10 minutes to set.
Mix the peanut butter, powdered sugar, vanilla extract, and 1/4 teaspoon sea salt in a bowl until smooth and well combined.
Remove the chocolate-covered cups from the fridge and spoon the peanut butter mixture on top of the chocolate base, filling each cup about 3/4 full.
Pour the remaining melted chocolate over the peanut butter filling until each cup is full. Tap the pan gently to remove air bubbles. Sprinkle a little extra sea salt on top.
Chill the cups in the refrigerator for at least 30 minutes until fully set. Once firm, remove the cups from the mold and enjoy!
Extra Tips
- For a twist, consider using dark chocolate or adding a hint of cinnamon to the peanut butter filling.
Nutritional Breakdown (Per Serving)
- Calories: 210 kcal
- Total Fat: 15g
- Saturated Fat: 5g
- Cholesterol: 0mg
- Sodium: 50mg
- Total Carbohydrates: 19g
- Dietary Fiber: 1g
- Sugars: 11g
- Protein: 4g